- Preparation time
- 20 mins
- Cooking time
- 60 mins
- Difficulty
- Easy Recipes
- Serves
- 3 people
- Desert
- February 12, 2016
White Chocolate Valentines.
PrintWhite Chocolate Valentines
Ingredients
Scale
- Ingredients for 1 recipe Sugar Cookie Dough, at room temperature
- 1 teaspoon red gel paste food coloring
- 4 ounces white chocolate, melted
- Pink gel paste food coloring
Instructions
- Equipment: 2 1/2-by-3-inch heart-shaped cookie cutter
- Sift together flour, baking powder, and salt. Place butter and sugar in the bowl of a standing mixer and beat until light in color. Add the red food coloring, egg and milk and beat to combine. Proceed with recipe and chill for 2 hours.
- Preheat the oven to 375 degrees F.
- Sprinkle a work surface and rolling pin with confectioner’s sugar and roll out dough to 1/4-inch thick. Move dough frequently to prevent it from sticking and add more confectioner’s sugar to the work surface and rolling pin as needed. With a 2 1/2-by-3-inch heart-shaped cookie cutter, cut 36 hearts, re-rolling dough as needed. Place at least 1 inch apart on parchment-lined baking sheets, and bake until cookies are set but not brown, about 7-8 minutes. Let cool on the pan slightly before transferring to a rack to cool completely.
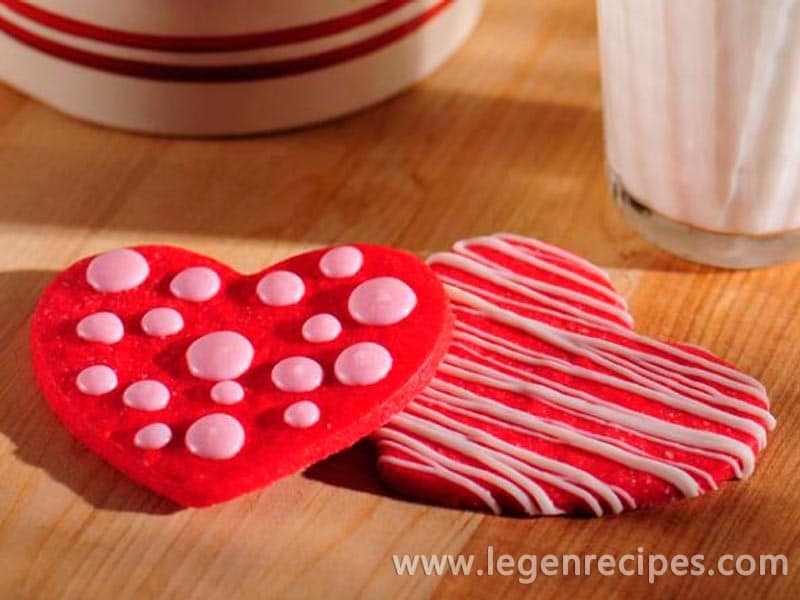
- To make striped Valentine hearts, transfer half of the melted chocolate to a disposable pastry bag, twist the end closed, and using scissors, snip a very small opening in the tip. Starting at the bottom of the cookie, apply gentle pressure to the pastry bag and drizzle lines of chocolate back and forth over the cookie, moving up as the chocolate flows. Allow chocolate to set before eating or packaging.
- To make polka-dot Valentine hearts, color the remaining chocolate with pink food coloring to the desired shade of pink. Transfer to a disposable pastry bag, twist the end closed, and using scissors, snip a very small opening in the tip. Hold the pastry bag perpendicular to the cookie and apply gentle pressure to pipe a dot of chocolate. Release the pressure on the bag until the flow stops, and continue over the surface of the cookie, piping different sized dots, if desired. Gently tap the cookie to settle the chocolate and allow to set before eating or packaging.
- Cook’s Note: If gel paste food colorings are not available, add liquid food coloring until you achieve desired color. For pink, simply use a little red.


